How to Make Panzerotti at Home: A Step-by-Step Street Food Guide
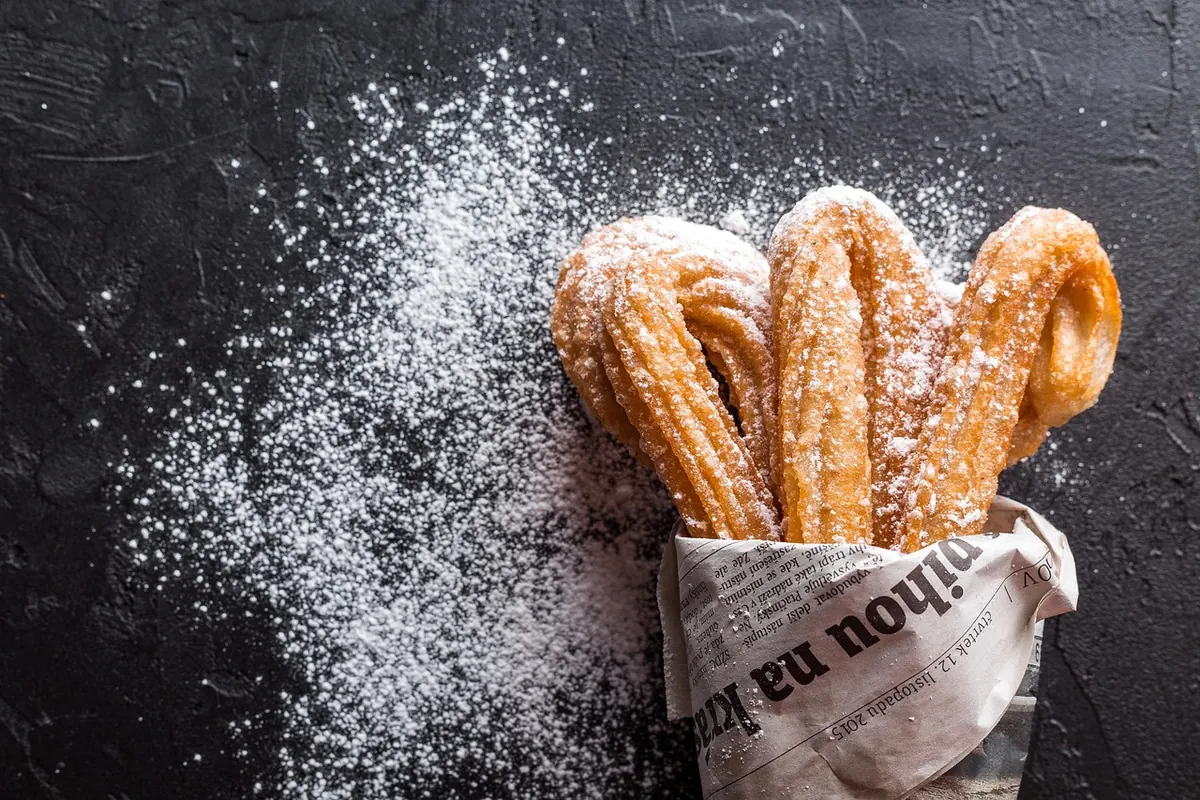
There is a particular sound to a good panzerotto: the first bite cracking through a blistered crust, then the small rush of steam from hot tomato and mozzarella. In Puglia they are fried by the dozen in shops with no seats, handed over in paper bags, eaten standing up with a napkin in one hand. Making them at home is not difficult, but it is a job with a few fixed points — a dough that has rested, a filling that is not wet, and a seal that holds under hot oil. Get those three right and the rest is timing. What follows covers the dough, the fillings, the shaping, and both the fried and baked versions.
Panzerotti dough is a simple bread dough, slightly softer than pizza dough but firm enough to hold a crimped edge. This makes eight to ten good-sized panzerotti, enough for three or four people as a snack.
Dissolve the yeast in most of the water, add the flour, then the salt and the fat, and mix. Knead for eight to ten minutes until smooth and only slightly tacky. If it feels wet, give it another minute of kneading before adding flour; if it still sticks, dust with semolina rather than flooding it with flour. Cover and leave for two hours at room temperature, or overnight in the fridge if you want to fry them the next day. Cold dough needs about an hour to come back to room temperature before shaping.
Then divide it into balls of about 70 to 80 g and leave them covered for twenty minutes. This rest matters more than people expect: it relaxes the gluten so the discs roll out thin and stay thin, instead of springing back and thickening at the edge where you need the seal to be strongest.
The classic is tomato and mozzarella, and it is also the hardest to get right, because both ingredients are full of water and water is the enemy of a sealed panzerotto. Drain the mozzarella — fiordilatte or another firm, low-moisture type — tear it into small pieces and leave it on paper towels for half an hour. Salt tinned tomato pulp in a sieve and let the liquid run off, then discard it. Tear rather than chop; shreds hold their texture better than a fine dice.
Two rules carry all of these. Keep the filling cold, never warm — steam from a hot filling expands and pushes the seal open. And do not overfill: two level tablespoons for a disc the size of your palm is generous. A thin, tight panzerotto is a better panzerotto than a fat one that leaks.
If the filling is wet enough to drip off the spoon, it is wet enough to ruin the seal.
Work on a lightly floured surface and roll each ball into a disc about 3 mm thick and 12 to 14 cm across. Keep the thickness even, but take extra care near the rim, which must stay thin and clean.
If a little filling or oil gets onto the rim, wipe it away and press again — dough will not stick to itself through grease. And do not prick a panzerotto you intend to fry. Pricking is for the baked version only.
Use a deep, heavy pan with about 3 cm of oil, or a fryer, and bring it to 170–175°C. Without a thermometer, drop in a small piece of dough: it should sink, then rise and start bubbling steadily rather than furiously. Fry two or three at a time, never more, and turn them once. Two minutes a side is usually enough for a deep gold; if they colour in under a minute the oil is too hot and the inside will still be raw. Lift them out onto a wire rack, not a plate lined with paper, so the steam can escape underneath.
Heat the oven to 230–240°C with a tray or stone inside. Brush each panzerotto with olive oil, prick it twice with a skewer so it does not balloon, and bake for twelve to fifteen minutes until puffed and golden. The result is lighter and crisper in a different way — less blistered, more bread-like, and far easier when you are feeding a table.
Eat them within minutes. Salt the fried ones as they come out of the oil and serve nothing alongside except perhaps a small bowl of warm tomato sauce for dipping. Leftovers keep in the fridge for two days; reheat them in a hot oven for eight minutes, which brings the crust back, rather than in a microwave, which turns the dough to rubber.
Unbaked, sealed panzerotti freeze well. Freeze them flat on a tray, then bag them, and fry from frozen at a slightly lower temperature, adding a minute or two to the cooking time. Freeze them before they have risen again, and they will taste remarkably close to fresh.
Start with one panzerotto as a test. If it holds, browns evenly and comes out dry, the rest will follow. If it splits, the problem is almost always the seal or the filling, not the dough — press the next ones more firmly and use a little less filling. That single test costs two minutes and saves a batch.
Photo: Daria-Yakovleva / Pixabay
Previous Post
Espresso vs. Cappuccino: When Italians Actually Drink Each
Next Post
Why Pasta Water Matters: An Explainer on Starch, Salt, and Sauce